xUnit.net is a testing framework that can be used to write automated tests for .NET (full) framework and also .NET Core.
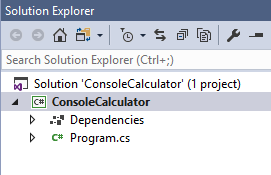
To get started, first create a .NET Core application, in the following example a .NET Core console app.

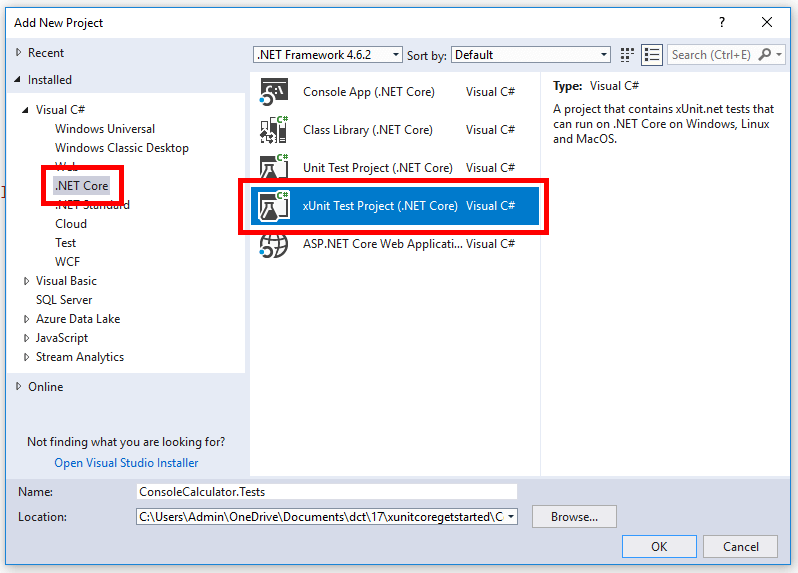
A testing project can now be added to the solution:

This test project will come pre-configured with the relevant NuGet packages installed to start writing test code, though you may want to update the pre-configured packages to the newest NuGet versions.
The xUnit Test Project template will also create the following default test class:
using System;
using Xunit;

namespace ConsoleCalculator.Tests
{
    public class UnitTest1
    {
        [Fact]
        public void Test1()
        {

        }
    }
}
Notice in the preceding code, the Test1 method is decorated with the [Fact] attribute. This is an xUnit.net attribute that tells a test runner that it should execute the method, treat it as a test, and report on if the test passed or not.
Next add a project reference from the test project to the project that contains the code that is to be tested, this gives the test project access to the production code.
In the production project, the following class can be added:
namespace ConsoleCalculator
{
    public class Calculator
    {
        public int Add(int a, int b)
        {
            return a + b;
        }
    }
}
Now the test class can be renamed (for example to “CalculatorTests”) and the test method changed to create a test:
using Xunit;

namespace ConsoleCalculator.Tests
{
    public class CalculatorTests
    {
        [Fact]
        public void ShouldAddTwoNumbers()
        {
            Calculator calculator = new Calculator();

            int result = calculator.Add(7, 3);

            Assert.Equal(10, result);
        }
    }
}
In the preceding code, once again the [Fact] attribute is being used, then the thing being tested is created (the Calculator class instance). The next step is to perform some kind of action on the thing being tested, in this example calling the Add method. The final step is to signal to the test runner if the test has passed or not, this is done by using one of the many xUnit.net Assert methods; in the preceding code the Assert.Equal method is being used. The first parameter is the expected value of 10, the second parameter is the actual value produced by the code being tested. So if result is 10 the test will pass, otherwise it will fail.
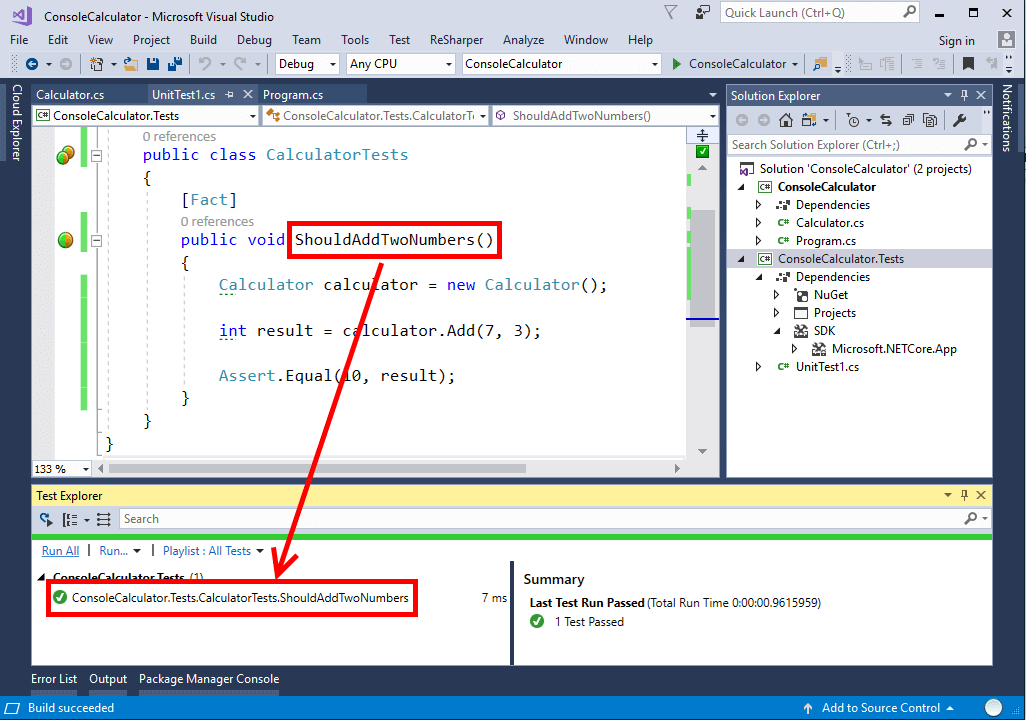
One way to execute tests is to use Visual Studio’s Test Explorer which can be found under the Test –> Windows –> Test Explorer menu item. Once the test project is built, the test will show up and can be executed as the following screenshot shows:

To learn more about how to get started testing code with xUnit.net check out my Pluralsight course
You can start watching with a Pluralsight free trial.


SHARE: