Disclaimer: some of the software used below is pre-release, use at your own risk...
This article assumes basic knowledge of writing C# and using Visual Studio - it doesn't assume any prior knowledge of Raspberry Pi or Linux.
My Parts List
You can find a list of verified peripherals here, below are the specifics of what I'm using successfully:
- Raspberry Pi Model B (from element14 Australia)
- 1 metre high speed HDMI lead (from element14 Australia)
- Microsoft Comfort Curve 3000 USB keyboard;
- Logitech M100 USB mouse;
- SanDisk 16GB Ultra SDHC Card, Class 10, "up to 30 MB/s 200X"
- Nokia AC-USB phone charger (output: DC 5 volt 1 amp*)
- Cat 5 Ethernet cable (wired to Belkin wireless bridge/extender)
* It's important to have a sufficiently powerful supply.
Preparing the Operating System
Download Soft-float Debian “wheezy” image from http://www.raspberrypi.org/downloads.
Extract the .img from the zip file.
Download Win32 Disk Imager http://www.softpedia.com/get/CD-DVD-Tools/Data-CD-DVD-Burning/Win32-Disk-Imager.shtml (make sure you get the correct link as there's lots of advertising and other download links on the page).
- Plug your SD card into your PC
- Run Win32 Disk Imager
- Open the .img file
- Check the device is set to your SD card your want to over(write) the image to
- Click Write
- Wait for "Write Successful" message
- Close Win32 Disk Imager
- Eject and remove your SD card.
Connecting the PI
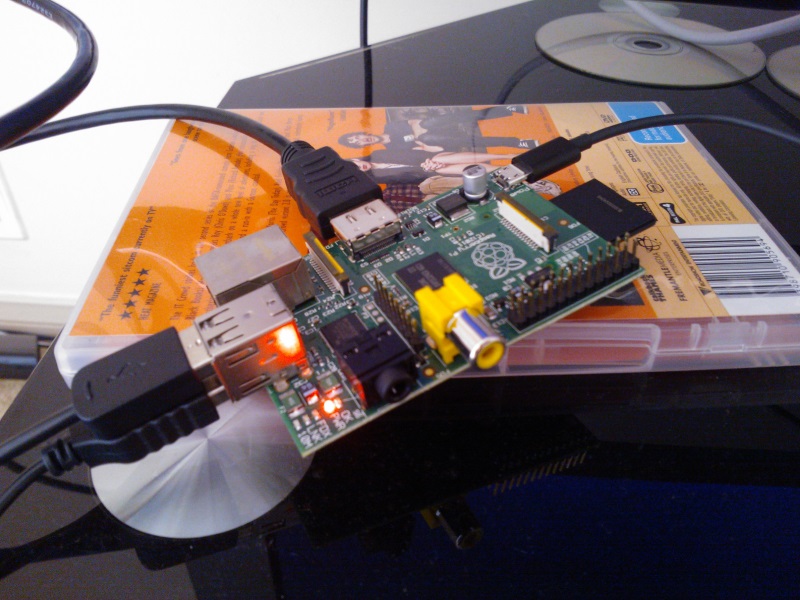
Connect everything to your Raspberry Pi, see the photo below - and yes the Pi is sitting on an IT Crowd DVD case ;)
Initial Setup
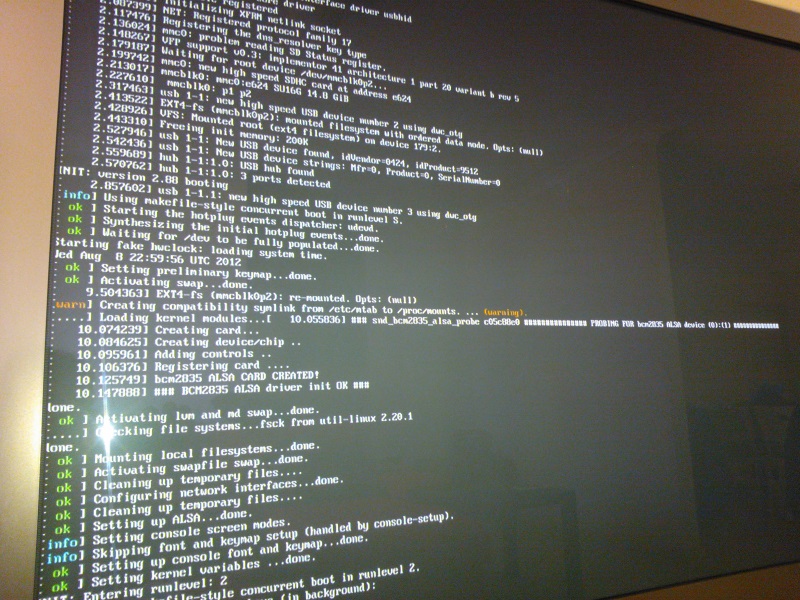
Once you have connected up your Pi, check your TV is set to the correct HDMI input and power it on by turning on your USB power supply.
You should see your Pi booting up :
...and then you'll get to the Raspi-config menu.
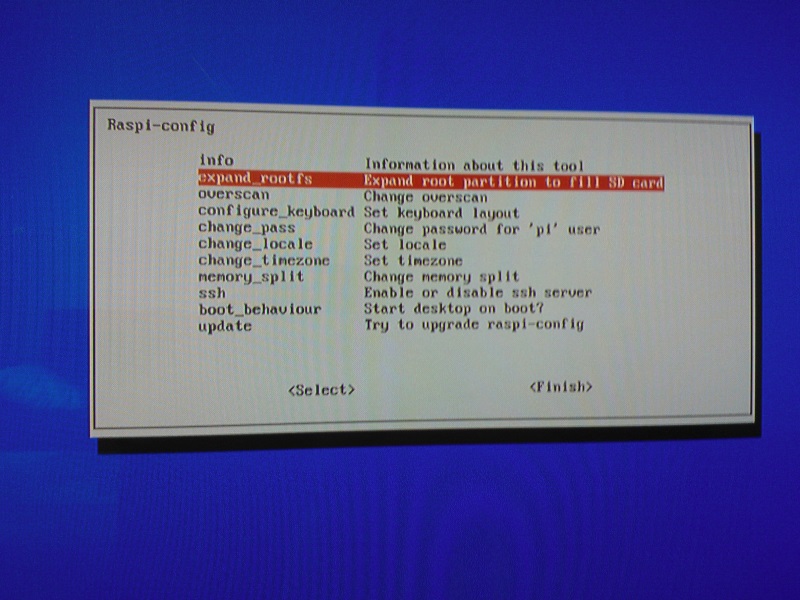
Choose "expand_rootfs" from initial menu and restart. When restart is complete, you'll now be in a GUI.
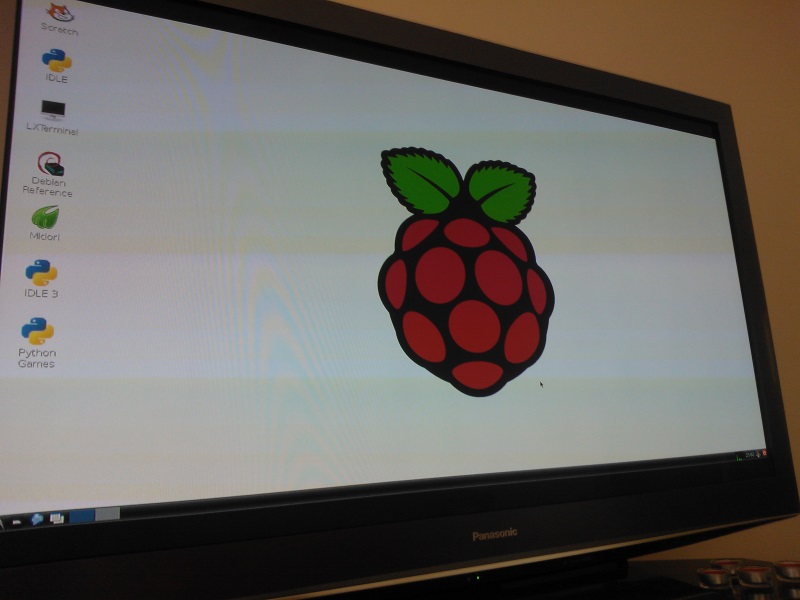
To test your network, double-click the Midori icon, this will load a web browser so you can test your internet/network connectivity. You'll need some Internet connectivity in the later steps.
Creating Hello World
In Visual Studio, create a new Console project, choosing .NET 4 as the target framework.
Make your Program.cs look like this:
using System;
using System.Collections.Generic;
using System.Linq;
using System.Text;
namespace HelloWorld
{
class Program
{
static void Main(string[] args)
{
Console.WriteLine("Hello World!");
Console.ReadLine();
}
}
}
Hit F5 to run your console app to check it works.
Installing Mono Runtime on your Raspberry Pi
Once you've checked your Internet connectivity, you need to install the Mono runtime
Mono is "an open source implementation of Microsoft's .NET Framework based on the ECMA standards for C# and the Common Language Runtime". Installing on your Pi will allow you to run your HelloWorld console app.
Once you've checked your Internet connectivity, you need to install the Mono runtime to enable you to run your .NET HelloWorld app.
In the GUI, double-click the LXTerminal icon, this will bring up a console window.
Type: sudo apt-get update and hit enter.
(If looks like it's hung for more than 30-secs, hit enter a few times... don't know if this is needed but it's what I did...)
When this command has completed and you're back at the pi@raspberry ~ $ prompt, type: sudo apt-get install mono-runtime and hit enter. When prompted, type y and hit enter. This will install the Mono runtime onto your Pi.
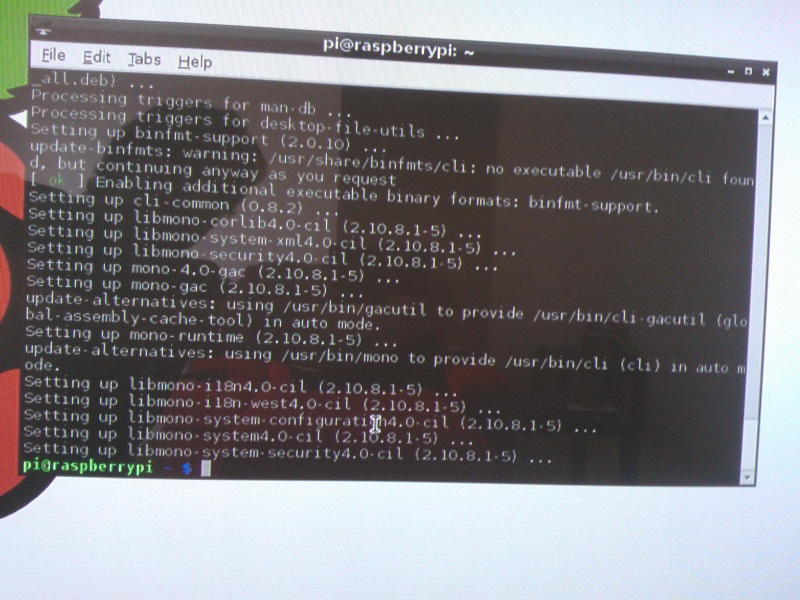
Wait for this to complete, you'll be returned to pi@raspberry ~ $ prompt
Close the LXTerminal command window.
Copying HelloWorld.exe to your Raspberry PI
On your PC, copy the Debug folder from your HelloWorld Visual Studio project folder to a USB memory stick.
Eject the USB stick, remove from your PC.
Insert into a USB port on your Raspberry Pi (I needed to temporarily unplug the USB keyboard)
Wait a few seconds and a file browser window will pop up on your Pi.
Copy the Debug folder from your USB stick and paste onto the desktop (e.g. using right-click menus).
Remove the USB stick (and re-attach your keyboard if necessary).
Running your First C# Application on your Raspberry Pi
Double-click the LXTerminal icon on the Raspberry Pi Desktop, this will bring up a command prompt window.
You need to change to the directory where you copied the HelloWorld.exe to. At the command prompt, type: cd Desktop/Debug (case sensitive) and hit enter.
Type ls and hit enter, you should see HelloWorld.exe listed as well as the other files in the Debug folder.
Type mono HellowWorld.exe and hit enter
Your hello world console application will now run, your should see "Hello World!" displayed.
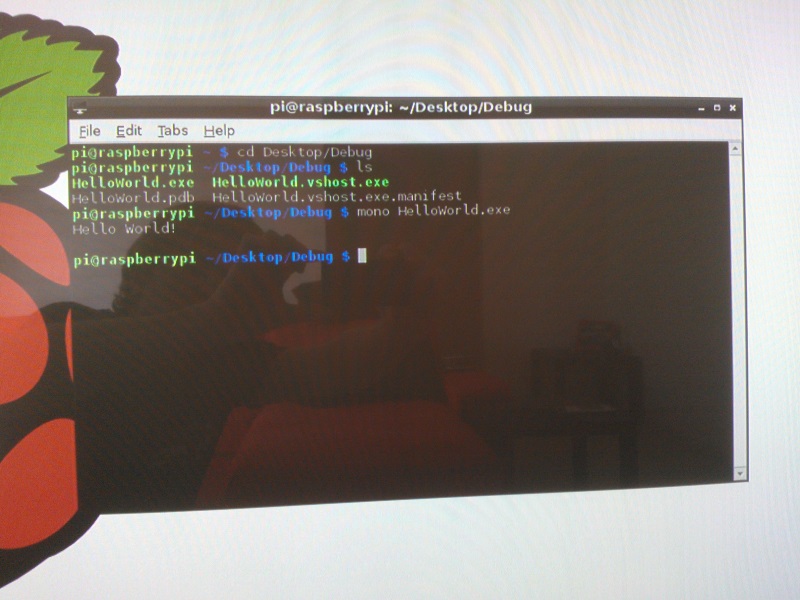
Congratulations, you've just run your first .NET C# app on a Raspberry Pi!
If you want to learn some cool C# tips check out my Pluralsight courses: C# Tips and Traps and C# Tips and Traps 2 :)
SHARE: