One way to run automated tests is to use Visual Studio’s Test Explorer. Test Explorer can be found under the Test –> Windows –> Test Explorer menu items.
In this article we’ll look at how to manage the list of tests using grouping and also how to specify custom search filter expressions.

Grouping Tests
There are a number of ways to group tests in Test Explorer, at the highest structural level we can group by project.
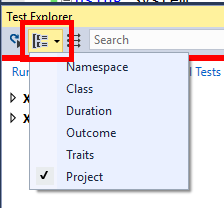
To select a group by method, click the drop down arrow as show in the following screenshot:
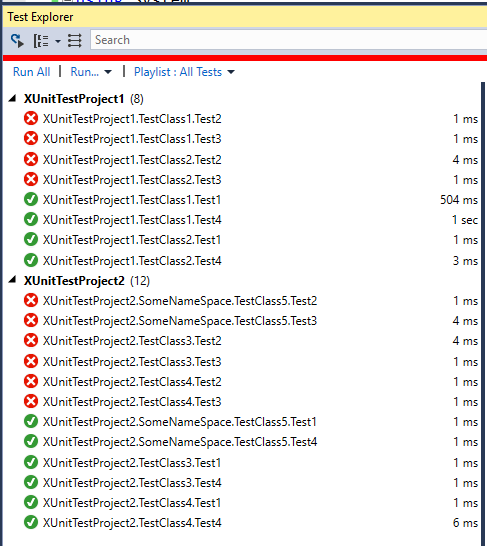
With the grouping set to Project, the test list looks as follows:
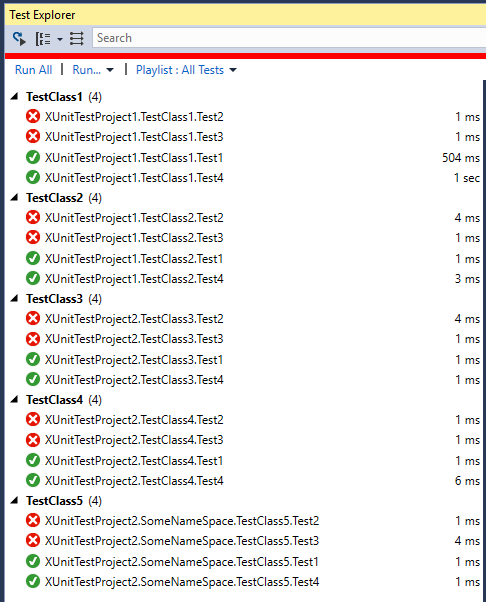
The next structural grouping is Class:
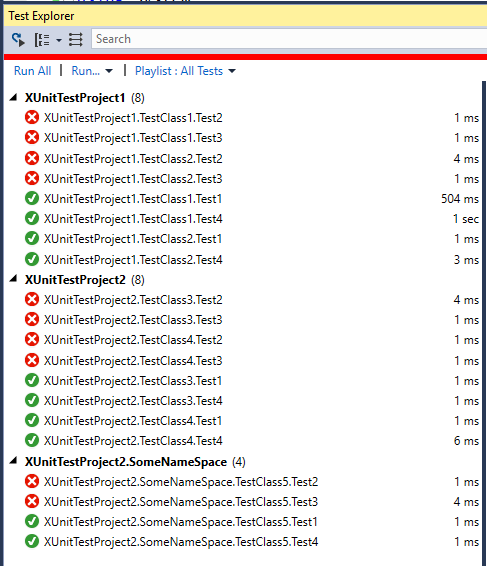
The final structural grouping is by Namespace:
There are a number of non-structural groupings.
Group by Duration:
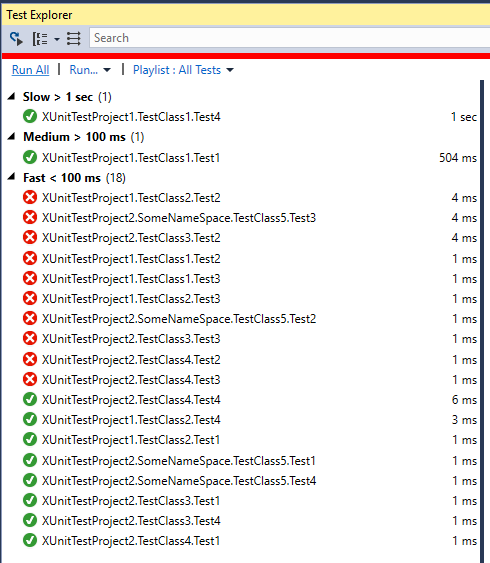
Group by Outcome:
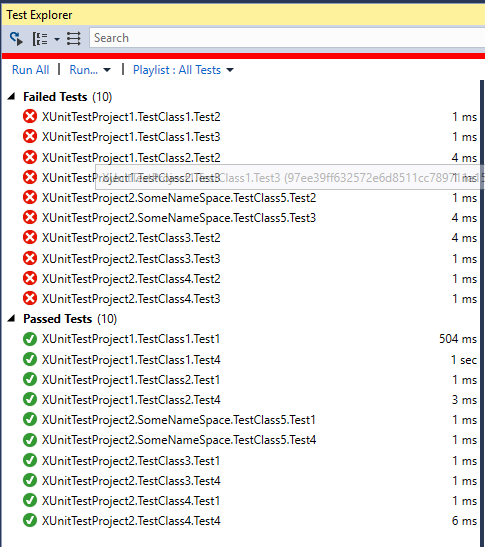
…and group by Traits:
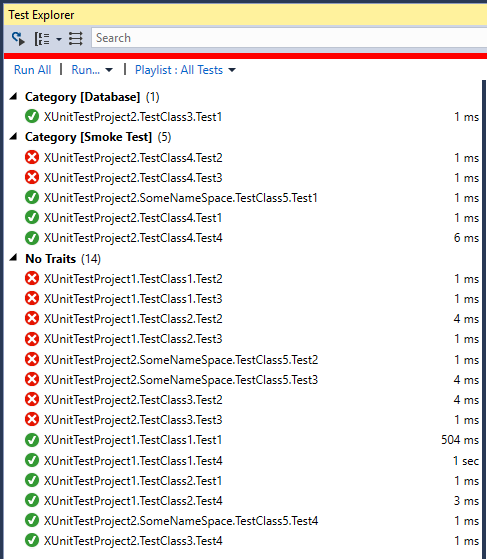
Filtering Tests
Custom filters can also be applied.
For example by file path:
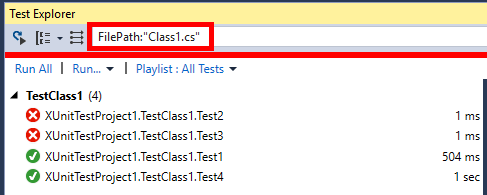
Other search examples include:
- Trait:"Smoke Test"
- Message:"System.Exception"
- Class1
- Outcome:"Passed"
- Outcome:"Failed"
Subsets can also be excluded by prefixing the type of filter with a -. For example to show all tests in Class1 except failed tests: Class:"TestClass1" -Outcome:"Passed".
To learn xUnit.net check out my xUnit.net course from Pluralsight - You can start watching with a Pluralsight free trial.


SHARE: