This is the third part in a series demonstrating how to setup continuous deployment of an Azure Functions App using Azure DevOps build and release pipelines.
Demo app source code is available on GitHub.
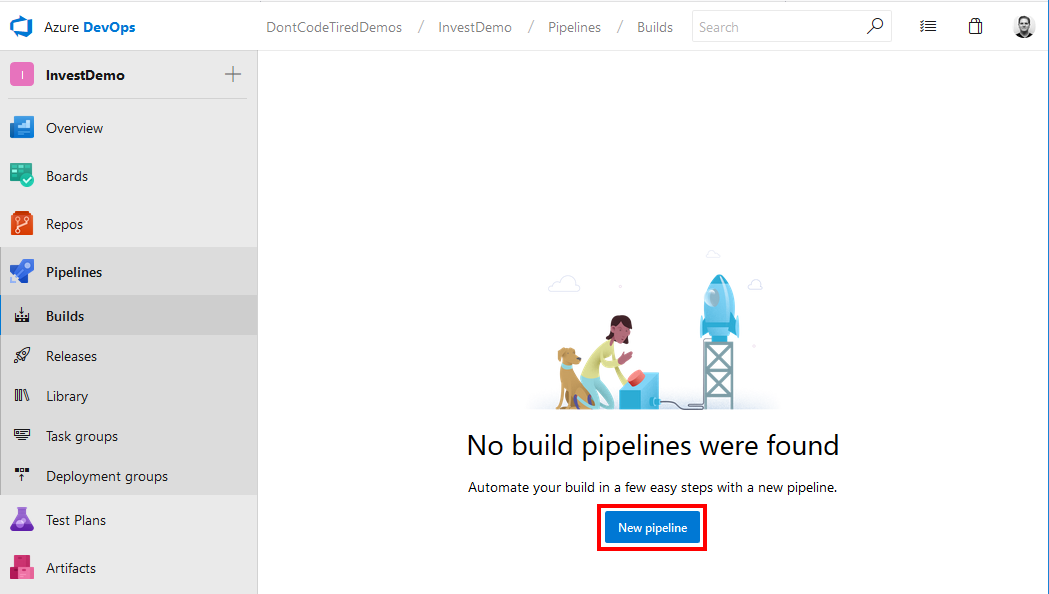
In the previous instalment we created an Azure DevOps organization and project, we can now create a build pipeline by clicking the New pipeline button:
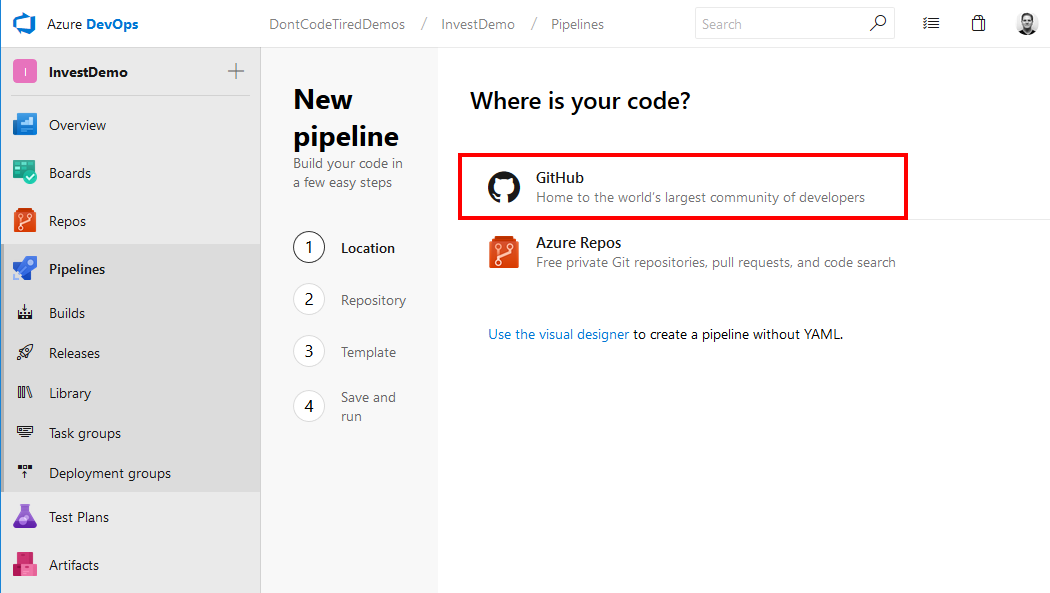
Next we need to specify where the source code is located, this could be hosted inside Azure DevOps using Azure Repos or GitHub. The demo app is located in GitHub.
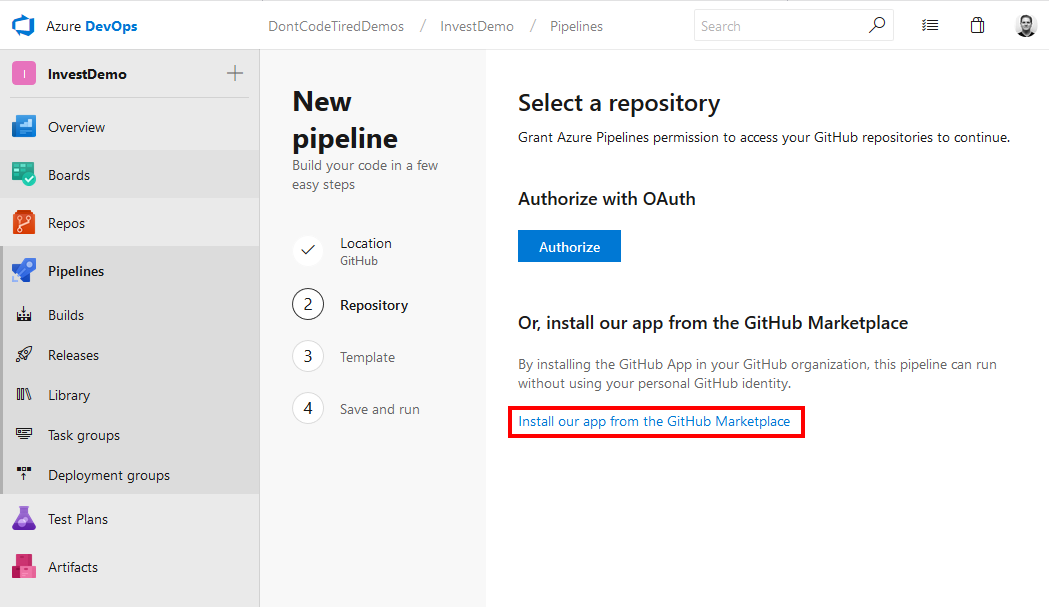
Next we need to give permission from GitHub to enable the pipeline to access the repository. The easiest way to do this is to click the Install our app from the GitHub Marketplace link as shown in the following screenshot:
You can allow access to all current (and future) repositories or specified ones:
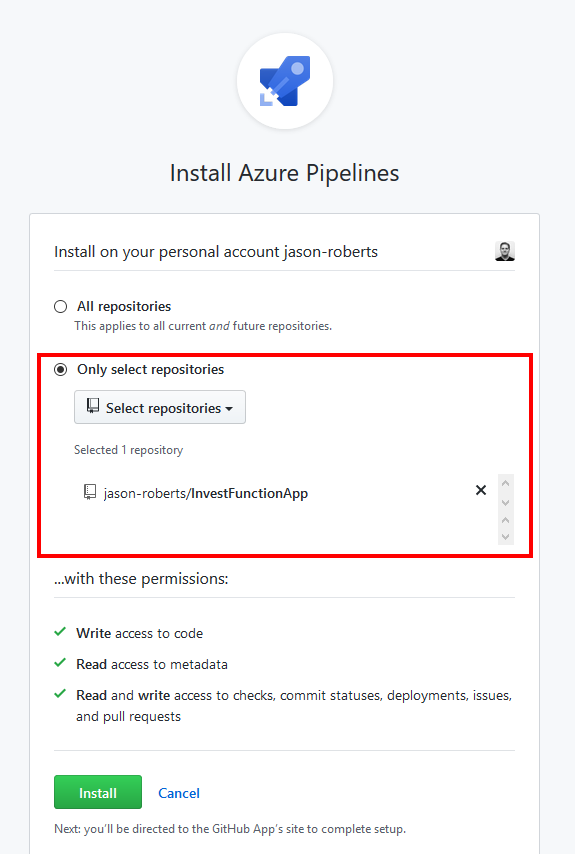
Click the Install button, confirm your GitHub password, and authorize Azure Pipelines:
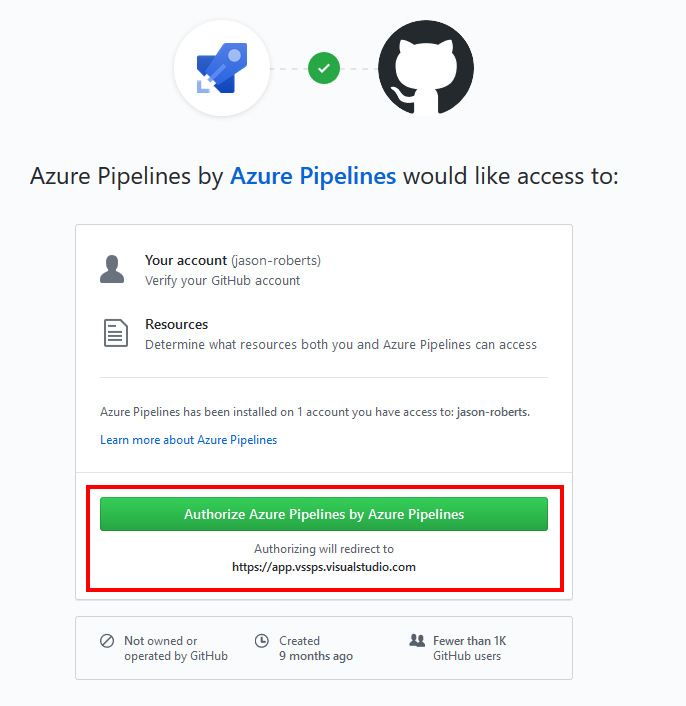
You will be redirected back to Azure DevOps where you can now select the InvestFunctionApp GitHub repository.
You can now select a starter YAML template that will define what happens during the build:
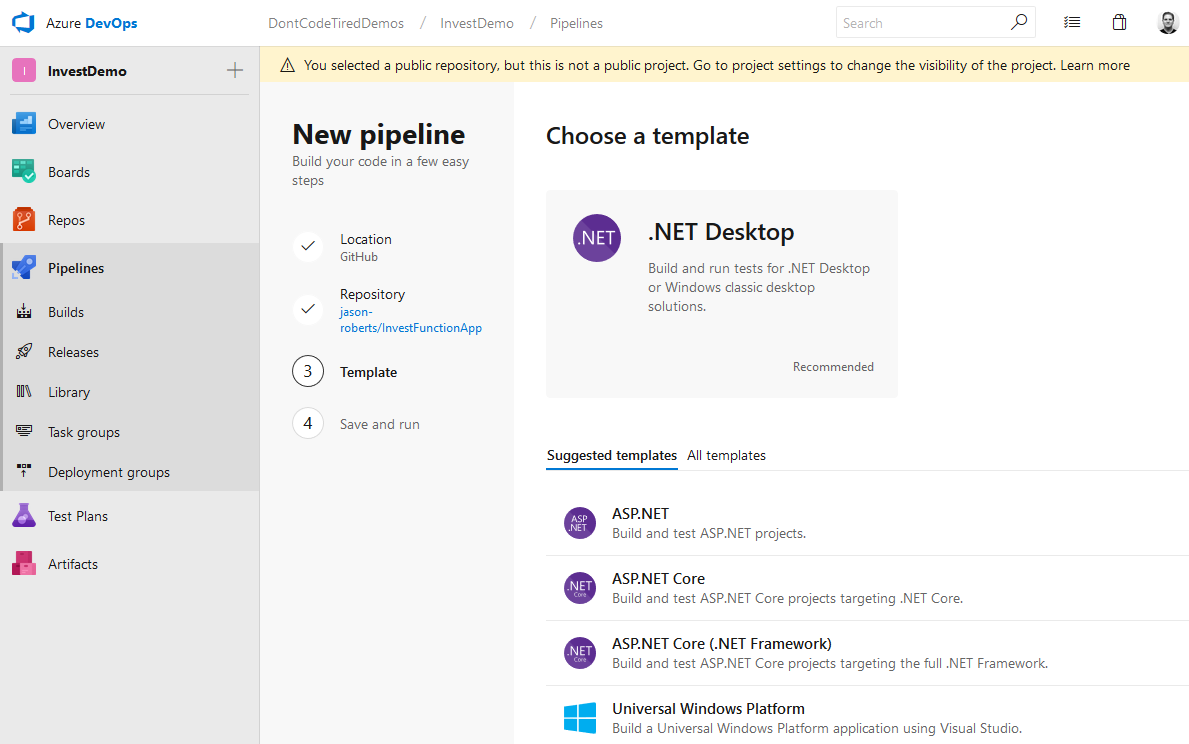
Choose the ASP.NET Core template:
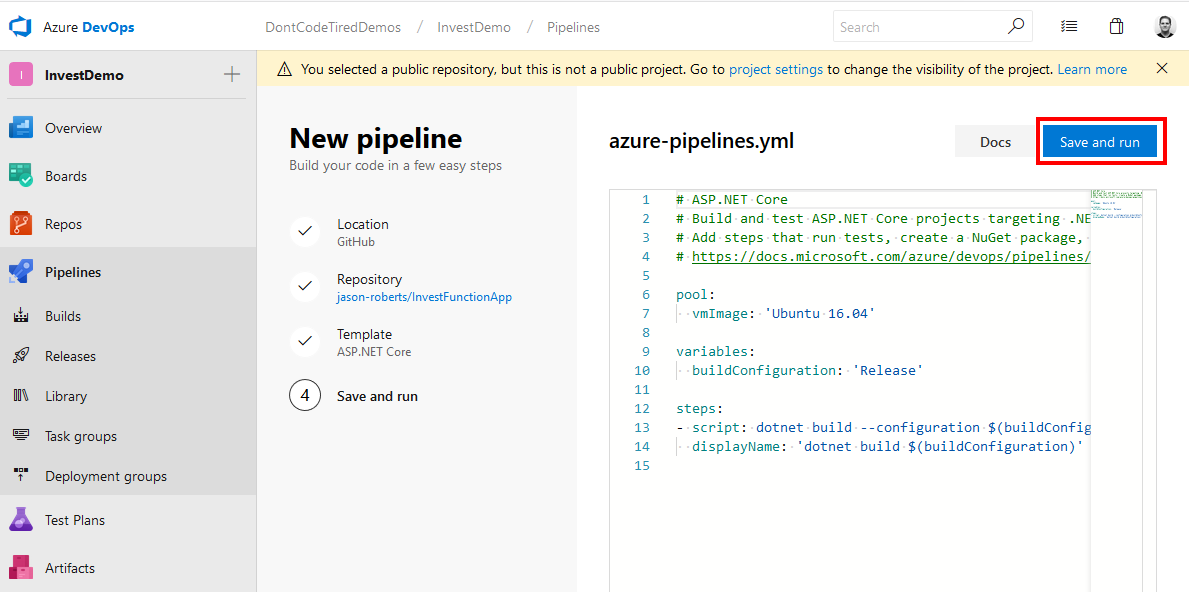
And click Save and run and then Save and run again.
The build job will now run:
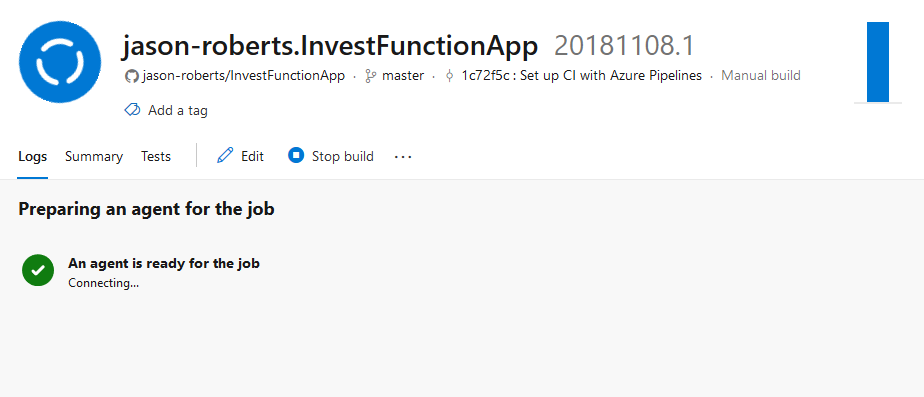
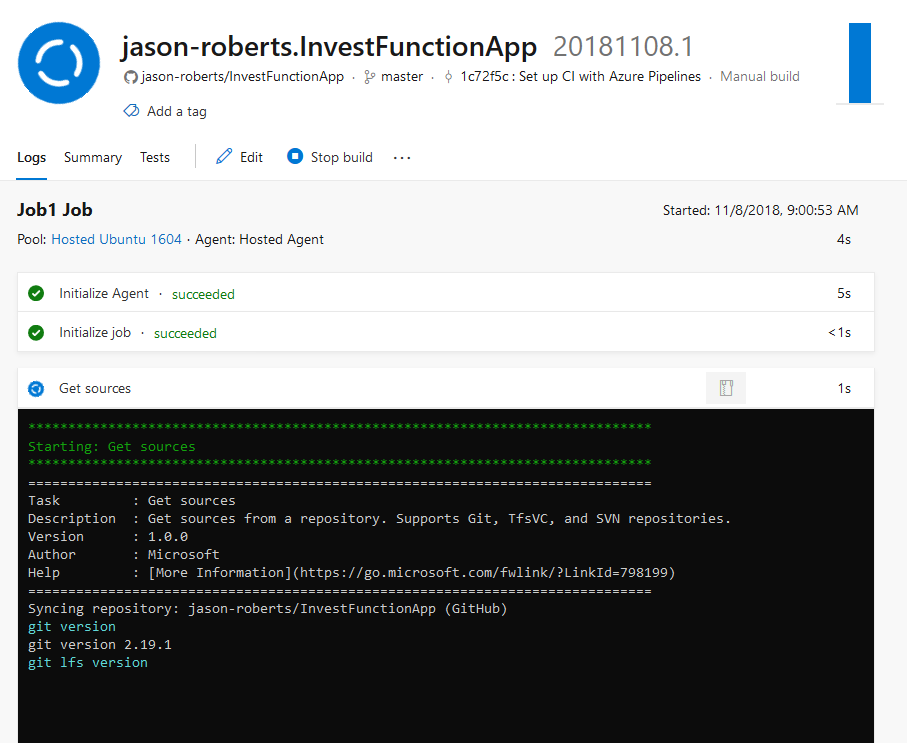
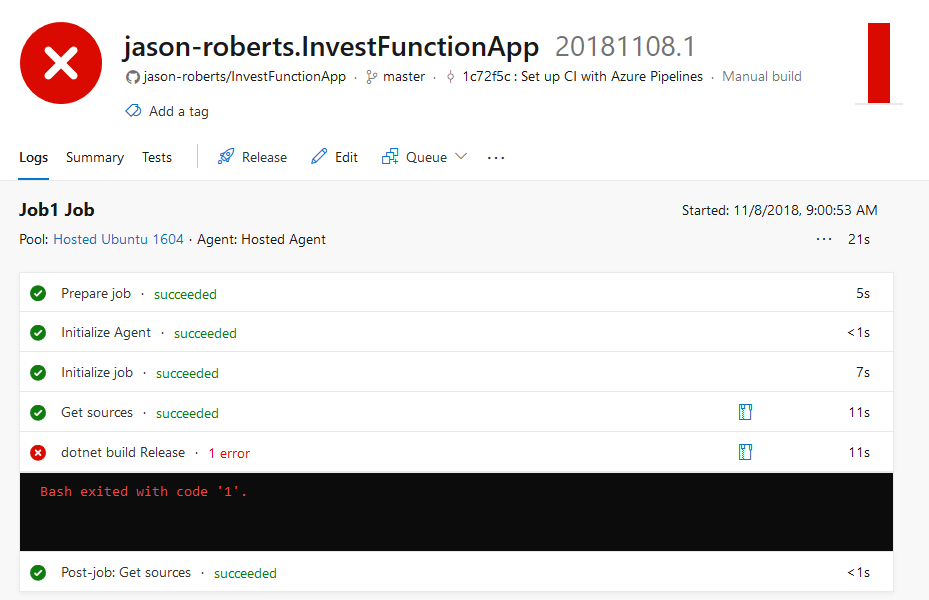
This initial build will fail but don’t worry as we need to go and edit the YAML.
Defining an Azure Pipeline Build for an Azure Function App in YAML
When we chose the starter template earlier, a new file was added to the root of the repository in GitHub called azure-pipelines.yml.
This file defines the steps that make up the build using YAML schema.
Essentially there are a number of steps in a build, each step could be a handwritten custom script, calling a prebuilt task, or referencing another template.
We can now customize the YAML to defined the build as follows:
pool:
  vmImage: 'Ubuntu 16.04'

steps:

- script: dotnet build 'src/InvestFunctionApp/InvestFunctionApp.sln' --configuration $(buildConfiguration)
  displayName: 'Build solution'

- script: dotnet test 'src/InvestFunctionApp/InvestFunctionApp.Tests' --configuration $(buildConfiguration) --logger trx
  displayName: 'Run unit tests'

- task: PublishTestResults@2
  inputs:
    testRunner: VSTest
    testResultsFiles: '**/*.trx'

- script: dotnet publish 'src/InvestFunctionApp/InvestFunctionApp/InvestFunctionApp.csproj' --configuration $(buildConfiguration) --output '$(Build.ArtifactStagingDirectory)/app'
  displayName: 'Package function app'

- task: PublishBuildArtifacts@1
  displayName: 'Publishing app artifact'
  inputs:
    pathtoPublish: '$(Build.ArtifactStagingDirectory)/app'
    artifactName: app

- task: CopyFiles@2
  displayName: 'Copy end to end tests'
  inputs:
    sourceFolder: 'src/InvestFunctionApp'
    targetFolder: '$(Build.ArtifactStagingDirectory)/e2etests'

- task: PublishBuildArtifacts@1
  displayName: 'Publish end to end test artifact'
  inputs:
    pathtoPublish: '$(Build.ArtifactStagingDirectory)/e2etests'
    artifactName: e2etests
In the preceding YAML, the displayName items help to describe what is happening and are hopefully fairly descriptive (they will also appear in the Azure Pipeline GUI/logs when builds are run).
Creating Multiple Build Artifacts in Azure Pipelines
One important thing to note in the preceding YAML, is that we are creating two separate build artifacts, one that contains only the Function App contents (for deployment to Azure) and one to be able to run the tests.
The Function App artifact is created by first calling dotnet publish and choosing the (temporary) output directory app with the switch --output '$(Build.ArtifactStagingDirectory)/app'. To actually create the build artifact that can be consumed in a release pipeline, the prebuilt PublishBuildArtifacts@1 task is called. This task takes its input from pathtoPublish: '$(Build.ArtifactStagingDirectory)/app' and will create a build artifact with the name app by virtue of the artifactName: app setting.
To create a separate artifact for the tests, the CopyFiles@2 task is used to copy (effectively the entire solution including the test projects) to the (temporary) targetFolder: '$(Build.ArtifactStagingDirectory)/e2etests'. The final PublishBuildArtifacts@1 task creates a second build artifact called e2etests.
We’ll see these artifacts used later in this series of blog posts.
The reason we create two artifacts here is to separate out what will get deployed to Azure Functions from the code/binaries that contain the tests. What we don’t want is to publish the tests, xUnit.net DLLs etc. to the deployed function apps in Azure. This can also help the in readability of the release pipeline and potentially help to segregate things so that only the indented things get deployed.
We can now save the changes to azure-pipelines.yml and push them to GitHub (which will actually trigger a new CI build).
Viewing Azure Pipeline Builds
Once the changes are pushed, the Azure Pipeline that we created will notice the changes and execute. If you click on Builds you will see the build running:

Clicking in the build will show you all the steps:
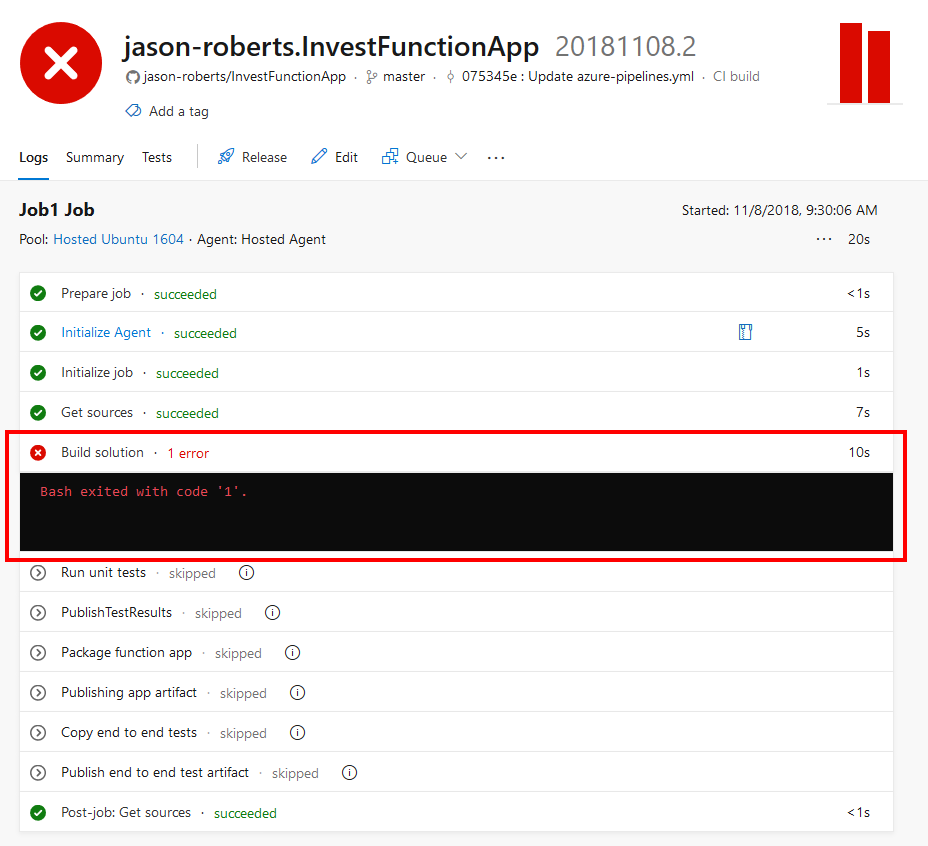
Notice in the preceding screenshot that the “Build solution” step is failing. Clicking it will show you the logs for the step:
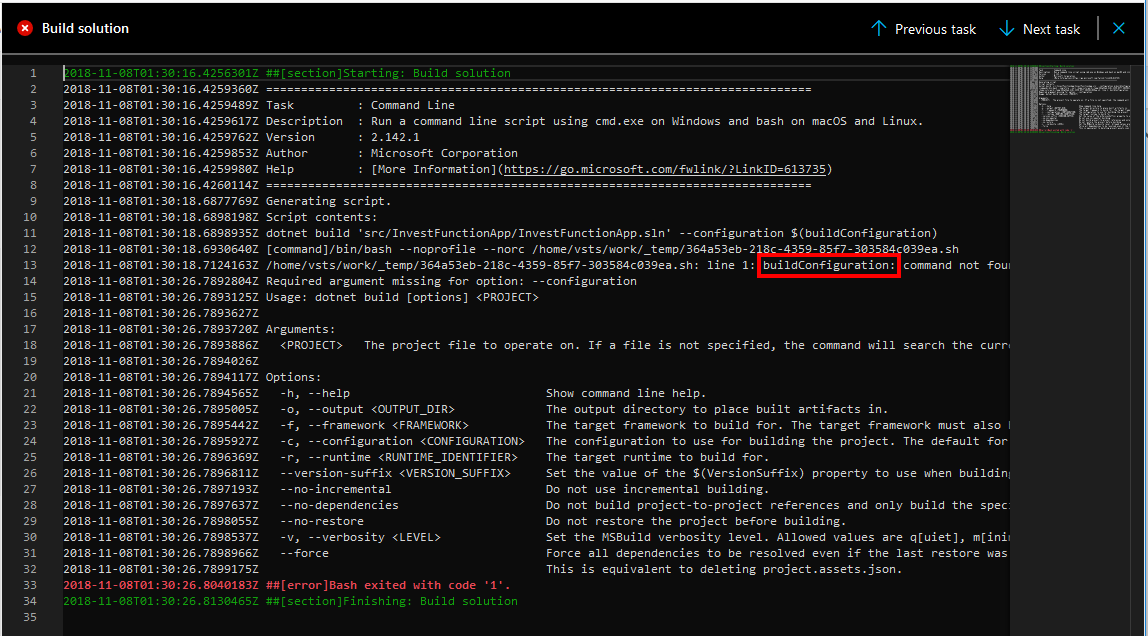
Notice in the preceding screenshot the error”buildConfiguration: command not found”. This is because in the YAML build definition we are referencing the $(buildConfiguration) variable which is not yet defined.
In the next instalment of this series we’ll learn how to add variables to a pipeline and fix this problem.
If you want to fill in the gaps in your C# knowledge be sure to check out my C# Tips and Traps training course from Pluralsight – get started with a free trial.


SHARE: