Early this year I tweeted this:
After seeing this, Synology reached out to me and asked if they could give me a unit to review. The contents of this post are my opinions based purely on my experience and this article was not pre-approved or edited by Synology.
What is a NAS?
A NAS device or Network Attached Storage device allows you to serve files over a network. A NAS can be a purpose built piece of hardware (like the Synology unit being discussed in this article) or a server set up with specific software to make it act like a NAS.
A NAS is like a hard disk that you can access over the network (potentially by multiple users) but depending on the hardware/software it can do a lot more. For example a NAS can enable you to fit multiple individual hard disks in a RAID configuration. RAID (Redundant Array of Inexpensive Disks or Redundant Array of Independent Disks) allows you to combine multiple disks/SSDs in a number of different ways.
RAID comes in a number of flavours (“levels”) with names such as RAID 0 or RAID 10. Each RAID level has its own benefit/trade-offs in terms of number of redundant disks, read/write speeds, and storage efficiency. For example, given 4 hard disks you could set up RAID to allow 2 disks to fail without loosing data, but you will not be able to use all the disk space on all the drives for your own storage.
In summary, a NAS is a network device that exposes file storage from one or more drives and may also use RAID for some redundancy.
One thing to bear in mind is RAID is not the same as backup. RAID gives you redundancy for hardware (drive) failure. If a drive fails in a RAID array you can usually keep working and just replace the damaged drive with a new one. You should still have a good backup strategy in place that backups data on the NAS, for example making sure you have off-site backups in case the building where the NAS is burns down, gets flooded, etc.. There are a number of ways you could do this on the Synology such as setting up Cloud Sync to Dropbox/Onedrive/etc or using an actual backup service that integrates with the Synology such as Synology C2, Backblaze, etc.
Setting Up a Synology DS1618+
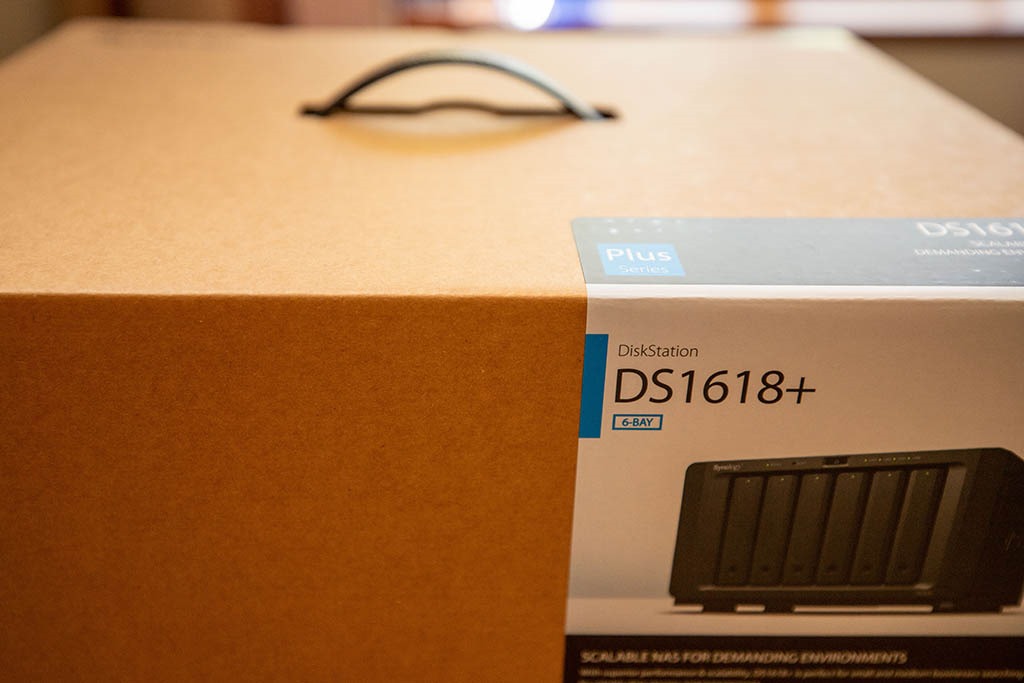
The first think is to decide what redundancy characteristics you want for your data that you’ll be storing on the Synology. Synology have a handy RAID calculator to help you work out how many drives will give you what amount of storage for different RAID levels.
For this device I decided I wanted 2 disk redundancy. This mean that even if 2 disks fails no data will be lost (using SHR-2). SHR (Synology Hybrid Raid) and SHR-2 are RAID-like configurations but allow mixing disks of different sizes.
I decided I wanted to start with 6 TB of accessible storage to start with to keep initial costs low. This means with 2 redundant disks (using SHR-2) I need a total of 4 drives each one being 3 TB in size.
There are hard drives that are designed for NAS applications and offer features such as rotational vibrational sensors and other features that make them more suitable than normal desktop hard drives. I decided for this Synology NAS I would go with 2 Western Digital Red NAS drives and 2 Seagate IronWolf NAS drives. The reason I went with 2 different brands is to minimize the chance of a manufacturing error in a single batch failing all the drives at once. This might however be overkill.
For maximum compatibility you should choose drives that have been verified as compatible, there is a handy compatibility list you can use though I found it almost impossible to find drives here in Australia that exactly matched the drive model numbers/firmware/etc. On the compatibility list you can also see drives that are explicitly incompatible. Before ordering the drives I checked that they were not explicitly marked as incompatible even though they also did not match exactly the drives on the compatible list.
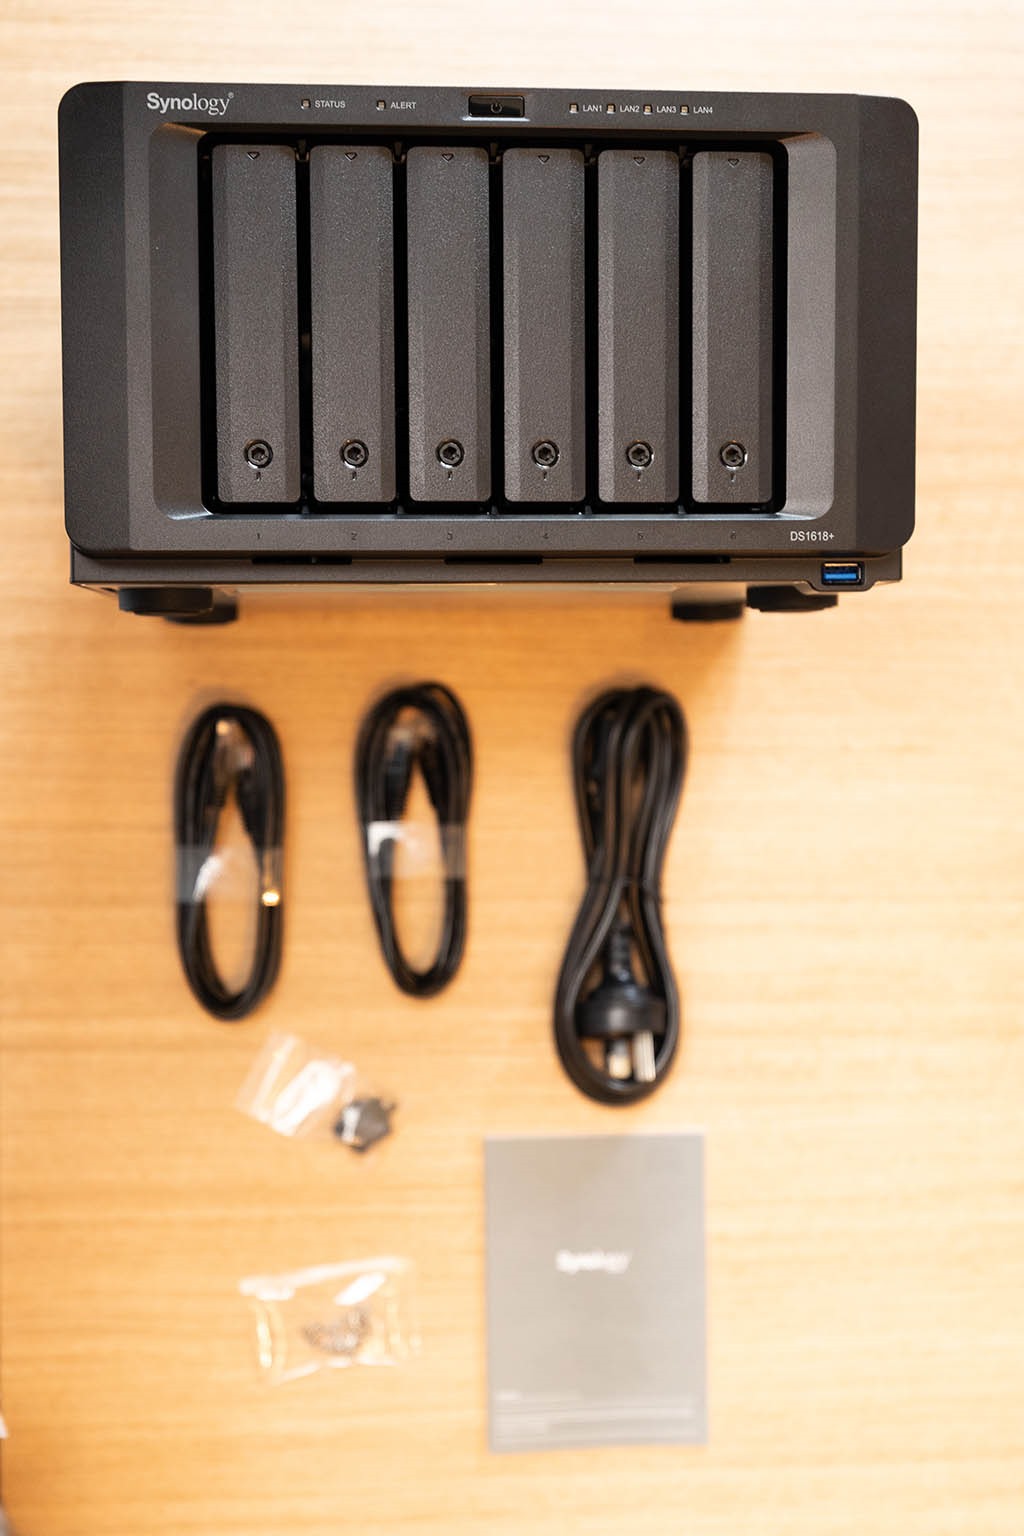
Out of the box, the DS1618+ comes with a couple of network cables, a power cord, some mounting screws if you are using 2.5” drives.
Installing Drives
Installing the drives is pretty easy, each bay pops open and the tray slides out into which the hard drive is inserted. For 3.5” drives no screws are required, instead the drives are help in place by a plastic strip on each side. These plastic were a bit fiddly however and felt a bit fragile and I was worried that I was going to snap them when trying to remove them from the tray. When the drive is inserted and the plastic strips clipped back in they feel like they hold the drive solidly in place however. Once the drive is held in place it can be slotted back into the NAS.
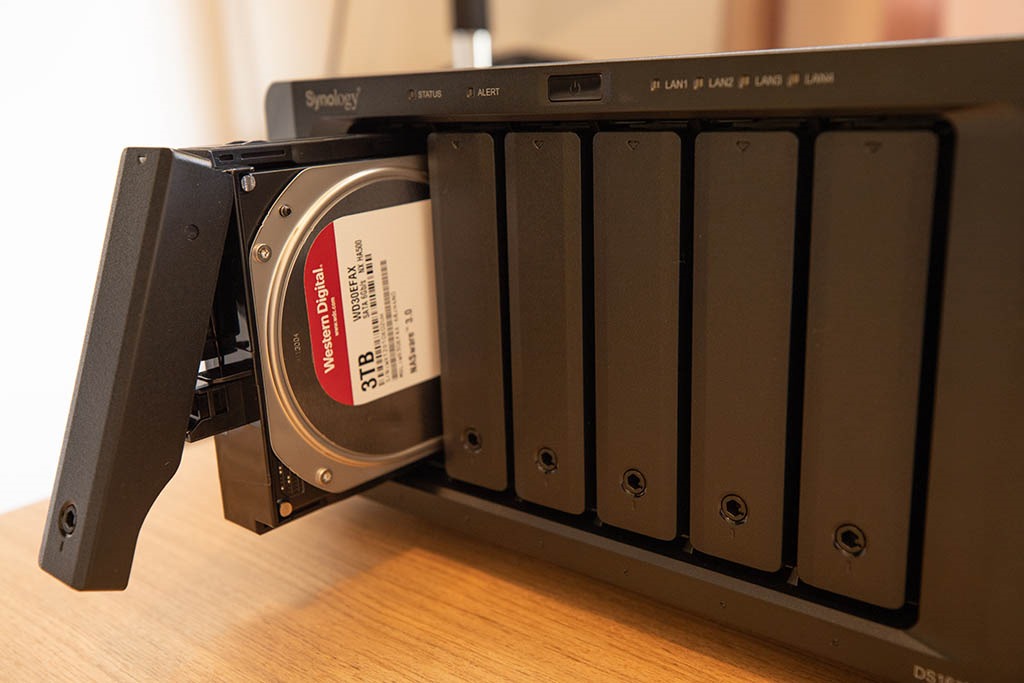
The drives can be secured in place using the supplied “key” to prevent the drives from accidentally being removed.
DS1618+ Setup
Once all 4 disks were installed, I connected the power cord and the network cable to the modem/router.
Back on my PC in a browser I navigated to http://find.synology.com – this then forwarded the browser to the NAS.
A wizard like setup process leads you through the required steps to install the NAS OS, create an admin user account, and optionally enable QuickConnect that allows you to access the management interface on your NAS over the Internet without needing to setup complex port forwarding rules which is a nice feature.
Once the setup is complete the web interface opens.
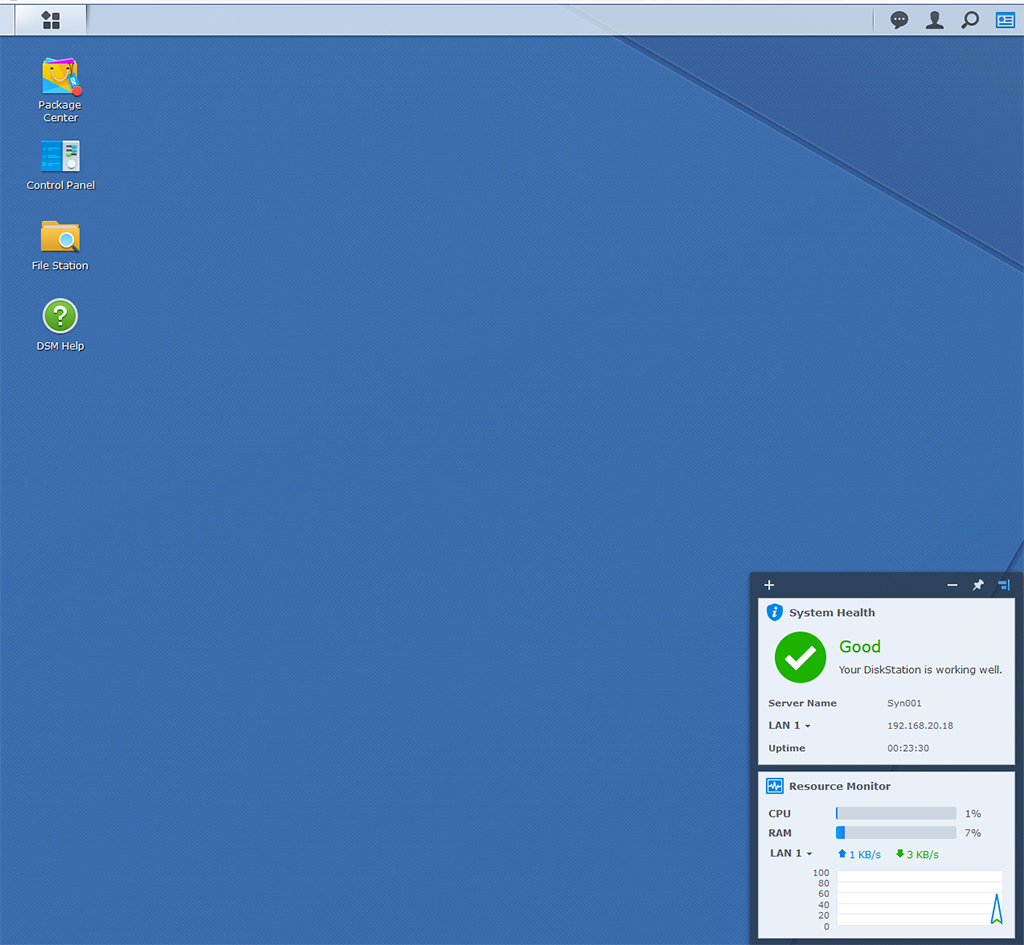
From here you can manage the NAS and install additional packages such as Dropbox/Onedrive/etc cloud sync. This ability to install “apps” onto the NAS is a powerful feature that helps to add extra value to the NAS proposition.
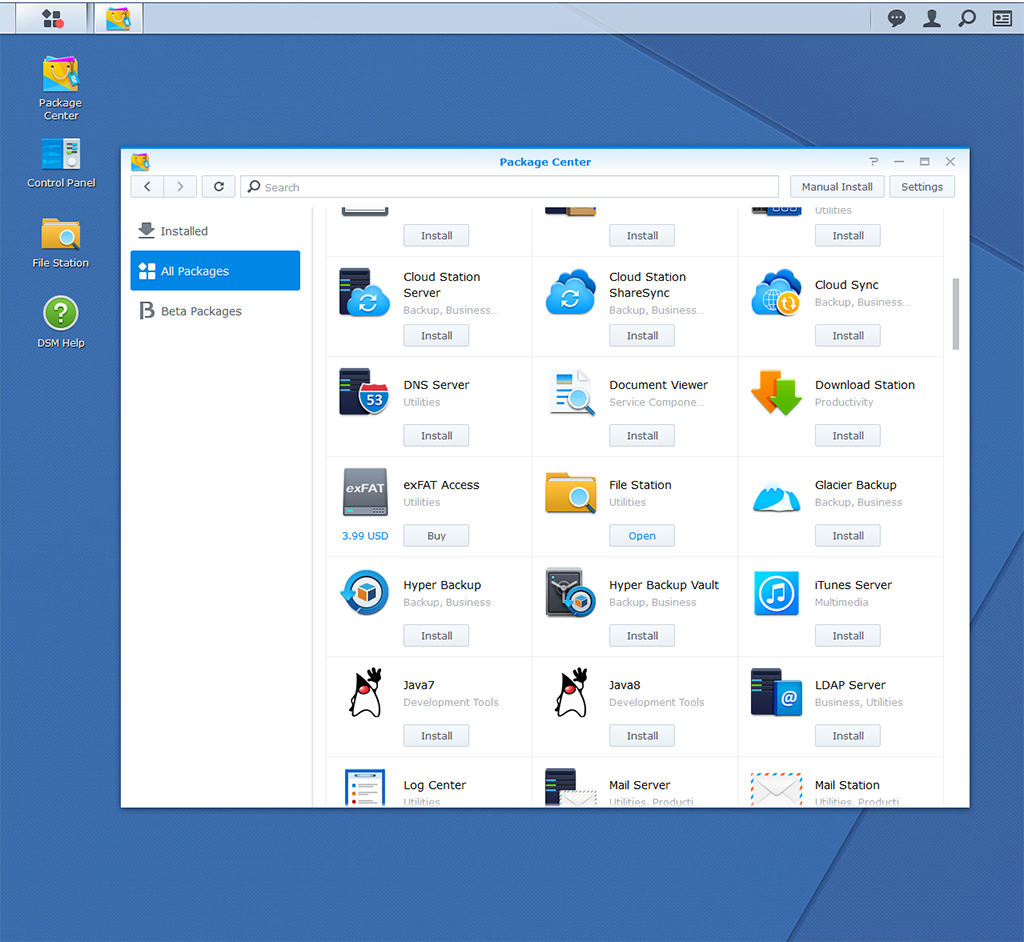
At this point I had not actually setup or chosen a RAID level so I wasn’t sure what to do next.
Eventually I found the Main Menu button at the top left that allowed be to open the Storage Manager app that allows the setup of disks – it would have been nice if this was part of the initial setup wizard/guided workflow – at least for beginner users like myself.
There are 2 key concepts: Storage Pools and Volumes.This is where things started to get a little confusing for as a first-time NAS user, I knew that I wanted a single volume using SHR-2 but was not sure how to get there.
After a few minutes looking at the documentation I understood that a storage pool is a collection of drives. There are 2 types of storage pools: “Storage pool for better performance” and “Storage pool for higher flexibility” with the performance pool “better performance but less storage management flexibility” –unfortunately the doc I was looking at didn’t link to what this “storage management flexibility” refers to.
So I decided to just go and click the create storage pool button and see what happens. The popup then told me that the “flexible” pool is the one that supports SHR so I chose that option.
I gave the pool a not very original name of “MainPool” and chose SHR-2 as the RAID type. Then I proceed through the wizard and selected the 4 drives I installed to be part of this pool.
Next I clicked on the create new volume button and chose the storage pool I just created. I set the volume size to max because I only want 1 volume for all the 4 drives and then I was offered the choice of file system: Btrfs or ext – I went with the Btrfs option as it was the recommended option..
Once all this was done the NAS started running a parity consistency check check on the drives.
Setting Up A Share
Now the pool and volume are up and running it’s time to store some files!
I went to the Shared Folder Creation wizard and created a test share and then setup read/write permissions for myself.
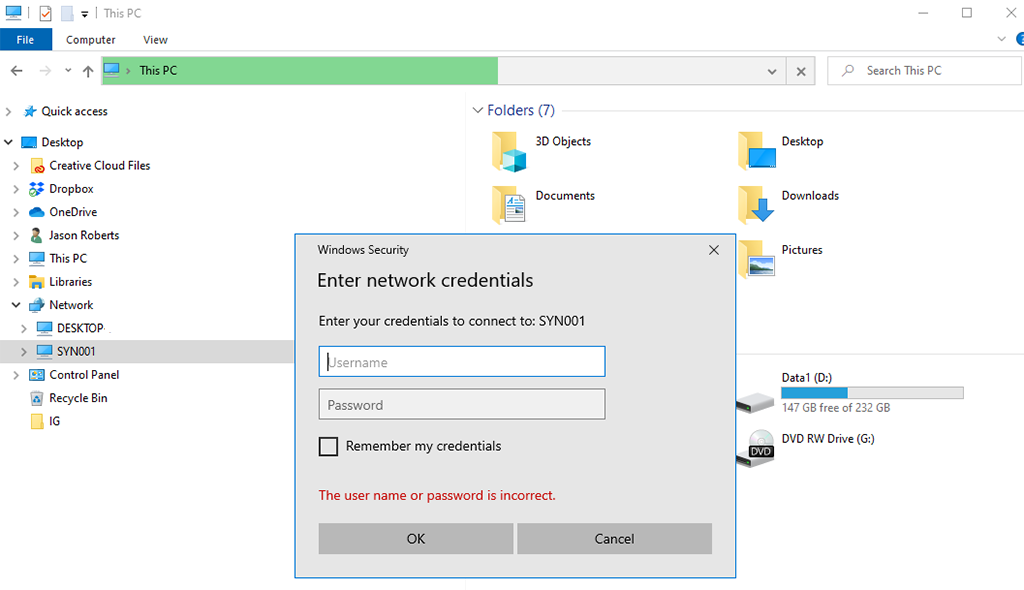
Now heading over to Windows File Explorer and navigating to the NAS I had to provide credentials which I did for the user I created earlier:
Now I can navigate to the Test1 share and create my first NAS-ed file :)
Setup Summary and First Impressions
One thing to bear in mind is that setting up a NAS is not the same as just plugging in an external USB. The Synology DS1618+ offers loads of configuration options and other than a short stumble where I learned about Storage Pools and Volumes the process was pretty painless. I now have the ability to store and retrieve files from anywhere in the house and also know that even if 2 of the 4 hard disks failed I would not lose data.
At this point I have not setup any backups so I won’t be putting any critical files on the NAS yet, I’m also looking forward to setting up things such as Cloud Sync that will sync Dropbox, Onedrive, etc to the NAS – at the moment due to smaller SSD sizes on my machines I’m having to make use of Dropbox selective sync all the time which is a bit annoying – having my entire Dropbox account on my local network will hopefully make things a lot nicer!.
I’m also looking forward to playing with the Synology Docker container support.
SHARE: